Friday Frolics #8

Friday Frolics #8

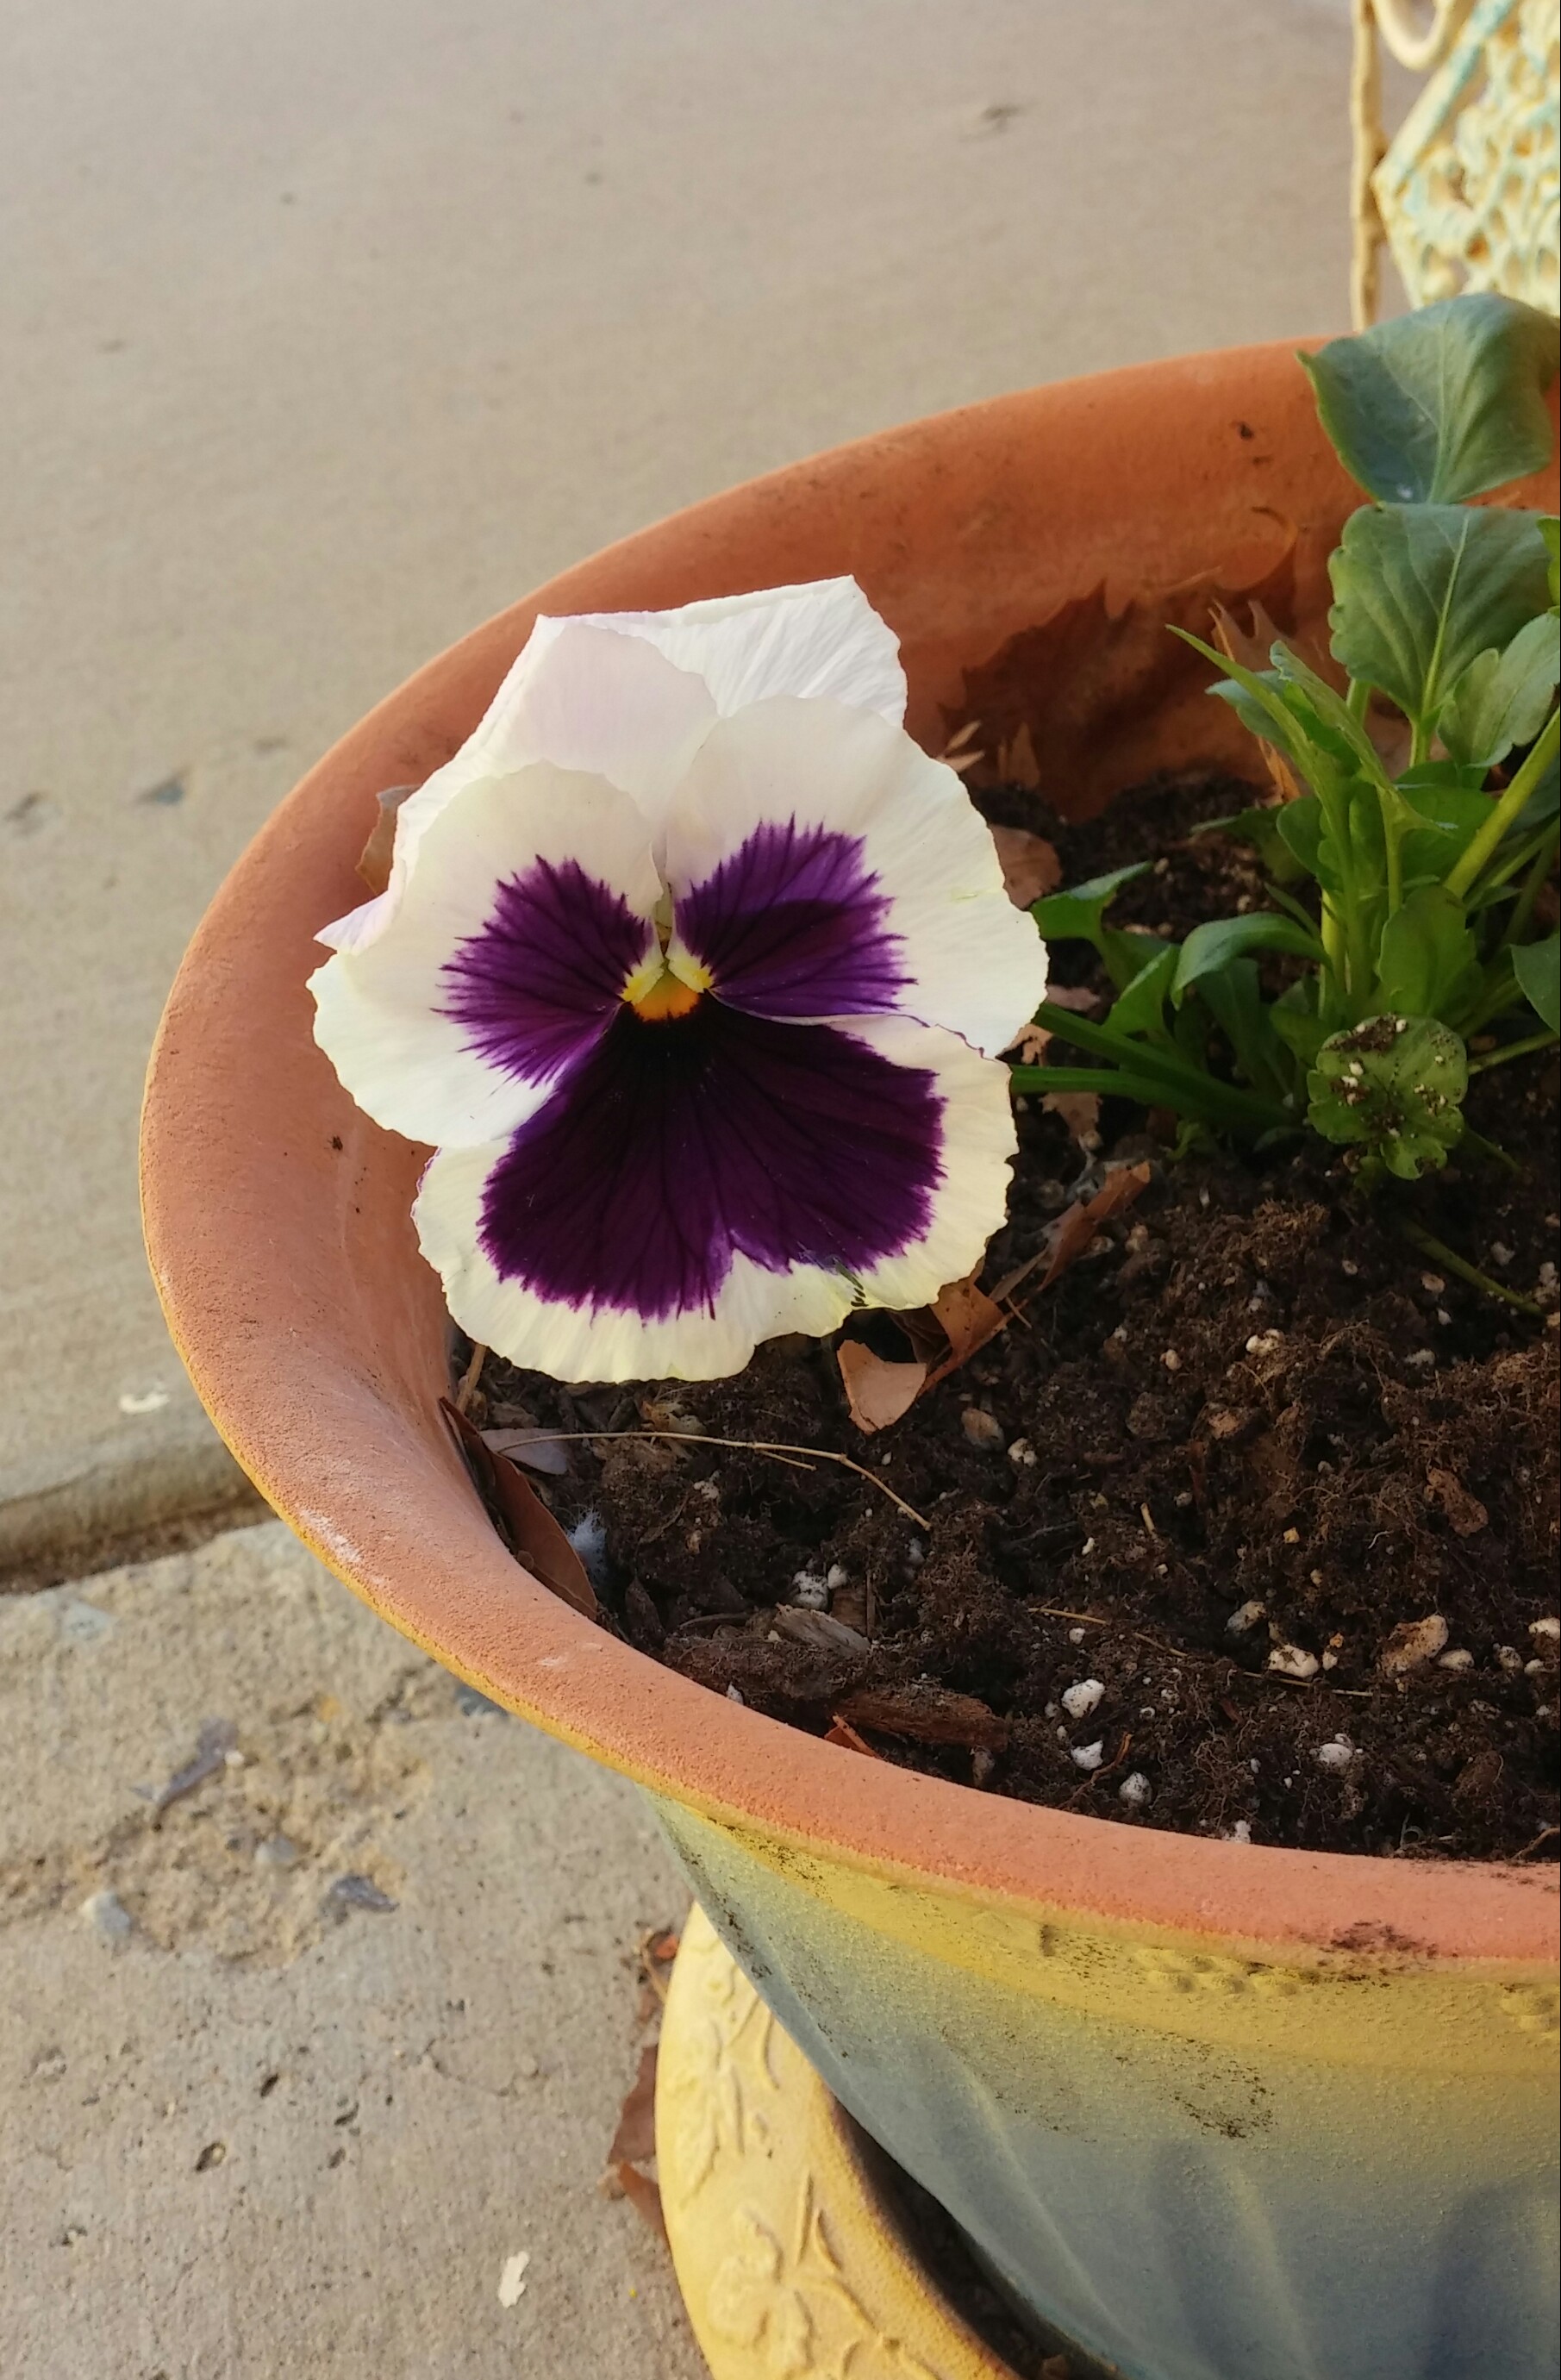
This week, my Tuesday Treasured Tidbit post was about my having planted my baby lettuce in bags of top soil instead of building raised beds or, alternatively, digging in tons of compost into the backyard of this rental house. Wow! What a response I received to that post! Since it received so much attention, and I received so many questions about details, I decided to make my Friday Frolic all about what I know about Top Soil Bag Gardening.

First of all, don’t over think it. Buy plain top soil – no additives necessary – which is usually fairly inexpensive. In my area, the 1 cubic foot bags are about $2.00 each.

Second, rough clear the area you’re going to use for your garden. By this I mean to clear large brush items but there’s no need to clear existing grass and the like. The bags will smother it out for you. During the growing season, just keep the pathways between the bags clear of weeds and trim the grass that grows.

Third, speaking of pathways, plan a bit before you lay down the bags and start planting so you leave pathways between the bags wide enough for walking and working. You won’t want to be stumbling around in the bags while trying to prune and harvest.

Fourth, puncture the underside of each bag six to eight times to allow for drainage. There are a couple of schools of thought on this subject. Some folks puncture first, then plop down the bags. Others, like me, puncture the bags after cutting out the topside just before planting using a long screwdriver thrust down through the soil and through the bottom side of the bag.

Fifth, just before planting, use scissors or other sharp blade to cut out the topside of the bag, leaving about a two-inch border all around like a frame (to hold in the soil and moisture). This is the point at which I plunge the long screwdriver down through the soil and the bottom side of the bag six to eight times to create the drainage holes.

lettuce

Sixth, start planting! You can plant seeds or seedlings – your choice. This style of gardening also allows you to start a bit earlier than planting directly in the ground because the soil is warmer because it’s above ground level.

I recommend sticking with the almanac recommendations as far as planting goes. For instance, lettuce, broccoli, cabbage, cauliflower, brussels sprouts, some hardy herbs, and potatoes are some plants that I can start this early in my area. I need to wait until mid to late spring to put in my peppers, tomatoes and squash transplants.

Finally, after the season, just pull out the dead plants to dispose of them. Lift up the bags and dispose of them. If you happen to be in a rental property and leaving before the next season, spread out the soil to enhance the surrounding area and leave an improved space for the next tenant. If you’ll be there for the next gardening season, bank up the piles to overwinter so you’ll have rich, ready-to-go platforms on which to place your bags for the next season. After a couple of seasons, all you’ll need to do to have ‘real’ raised beds is build the surrounds for them!

Other questions I received pertained to how much can be planted in each bag. There’s no one answer to that question because it depends on the plant. Heavy feeders like tomatoes need to be limited to one plant per 1 cubic foot of soil. If you’re using larger bags of soil, you can put more plants in each bag. The best advice is to read the tag that comes with the plant or the instructions on the seed packet. Now, having said that, keep in mind, those spacing recommendations are based on average soil nutrients. Packaged top soil is a bit richer than that so you can space the plants/seeds a bit closer. I usually go by the recommendations given in my ‘square foot gardening’ book. I’ve been a proponent of square foot gardening for years because the principle is that if your soil is good, you don’t need a lot of space to have a successful garden. Besides quite a few good books out there, great information is available on the internet including planting charts. Using bags of top soil is a great, informal, low commitment way of getting started with that style of gardening without all of the digging. Just keep your mind open as you consider how to set up the ‘square foot grid’ to identify how and where to plant each type of plant. As the seasons go by you will be creating the perfect, amended soil base for a more formalized arrangement.

square foot

Whew! I feel like I crammed a lot of information into this post. I hope it helped those of you who were hungry for more information about this simplified gardening method. Let’s keep the conversation going – enjoy your weekend!


Photo101 – Landscape

Photo101 – Landscape

We’re having one of our very few cloudy, sometimes rainy days here in New Mexico today, so I was able to capture a view of the mountains near Albuquerque shrouded in clouds.

The view is from atop the northwest mesa, looking east across the valley to see the gathering of the clouds, almost totally obscuring the Sandia Mountain Range. A sight so common to people in other areas as to be taken for granted, yet so precious to those of us in rain-starved states as to be immortalized.

landscape


Photo101 – Monochrome & Architecture

Photo101 – Monochrome & Architecture

As luck would have it my choices for this particular assignment were limited. I chose to take a different perspective on my wreath and front archway (I sat on the sidewalk) to see if I could lend an air of intrigue to my simple little house. With the special effects, it now seems much older than its 25 years and more mysterious than its humble suburban location.

monochrome


Tuesday Treasured Tidbit #5

Tuesday Treasured Tidbit #5

This time of the year is my favorite time of the year, bar none, because of the theme of renewal. Keeping with that theme, I started my garden late last week by planting baby lettuce in bags of top soil.

lettuce

I chose this method because I’m living in a rental property for the time being so I don’t want to invest a great deal of time and energy (back labor) into digging compost into the not-so-lovely soil that exists. Using bags of top soil will suffice for the season and at the end of the season, I’ll remove the bags, spread out the soil and leave a parting gift of much improved soil for the next tenant.

Thus, this week I have two tidbits of joy – my lettuce and knowing I’m paying it forward.

Photo101 – Color

Photo101 – Color

Honestly, I don’t know that either of these photos fit the bill for the exact spirit of the assignment. However, when I opened my front door and saw my first pansy blooming it ‘popped’ for me so I snapped a picture. I cropped it two different ways to play with the colors and here we have them.

Spring is coming, spring is coming!!!

color2 color

Start Over Tomorrow

Start Over Tomorrow

“Sometimes it’s OK if the only thing you did today was breathe. Start over tomorrow.”

-Anonymous


Some of us need to be reminded of this concept each and every day.


Friday Frolics #7 – Comfy Crockpot Rice Pudding

Friday Frolics #7 – Comfy Crockpot Rice Pudding

One of the downsides of living with chronic illness/pain is some days, it’s too much to do much of anything, even sit at a keyboard. Yesterday (Friday) was one of those days. I managed to get the one sentence and photo up for the Photography 101 assignment and run one errand, then crashed for the rest of the day.

In recompense, today I am sharing with you one of my all-time favorite comfort food recipes: Comfy Crockpot Rice Pudding. It’s a bit different from what most of us think of as Grandma’s Rice Pudding because, first of all, it’s made overnight in a crockpot and, secondly, it’s made with brown rice, not white. OK, before everyone groans at once, you won’t even know it when you dive into this scrumptious delight the morning after, I promise. Let’s get started:

COMFY CROCKPOT RICE PUDDING

Ingredients

1-1/2 Cups Brown Basmati Rice

3-1/2 Cups Water (or soy or almond milk)

A drizzle of olive oil (trust me)

1-1/2 to 2 Teaspoon Cinnamon (to taste)

1/2 Teaspoon Cardamom or Mace (if you can’t find Cardamom)

1/2 Teaspoon Nutmeg

1/2 Cup Raisins

2-1/2 Cups Milk, Heavy Cream, Almond or Cashew Milk

Honey for drizzling

Garnishes (if desired): toasted coconut, almond slivers, chopped walnuts, pecans or cashews

 Instructions

Place rice and water (or milk) in crock pot insert, cover, and cook on low overnight (about 8 hours).

In the morning, about 15 minutes before serving, stir in ½ cup milk of choice and cinnamon, cardamom, nutmeg, and raisins. There will be a bit of crunchiness around the edges – scrape it off and stir it into the mix.

Divide pudding into four servings, pour ½ cup milk of choice over each serving, garnish as desired and drizzle with honey for sweetening.

Enjoy to your heart’s delight. See you next Friday.


Photo101 – Warmth

Photo101 – Warmth

When I saw the assignment for today, I immediately thought of this picture of this little gecko I snapped a few years ago while on a trip to Maui.

gecko in sun

He/she looks so satisfied and comfortable in the pool of sunshine – one almost wants to remove this big, thick winter sweater…almost…

Photo101 – Nature

Photo101 – Nature

My backyard is fairly barren yet this soon-to-be Spring. But, what I do have available are beautiful seedpods.

nature

This is just a common weed leftover from the fall but I love the star like shape of the burst open pods and the fluffiness of the yet-to-empty-out pods. I know I’ll pay the price for leaving it in place through the winter, but the birds have loved picking at it through the season. Enjoy.